Seller's Info
Adding Seller's Details
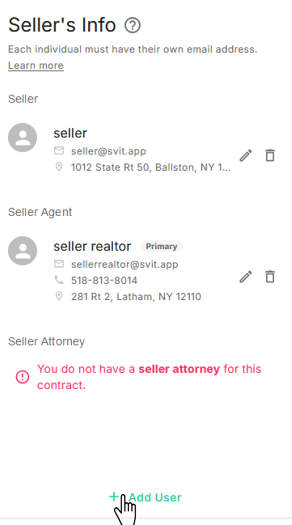
The system will automatically pull the Seller's name and address from the MLS listing. If you need to add more Sellers, a Seller Agent, or a Seller Attorney, you can easily do this by clicking the +Add Seller button.
In this card you can add Seller, Seller Agent, or Seller Attorney.
-
Navigate to the Seller's Info card on the Purchase Contract page.
-
Click + Add User at the bottom of the section. A dialog box will open for entering seller information.
-
Choose the user type, such as Seller, Seller Agent, or Seller Attorney.
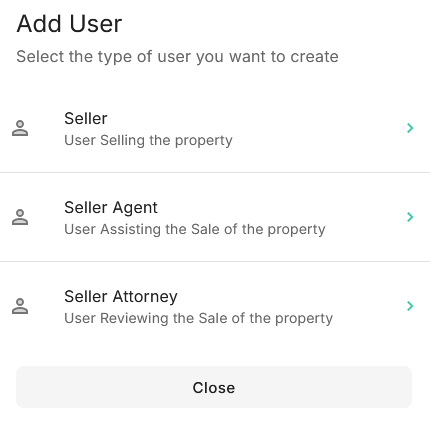
- Add Seller
- Add Seller Agent
- Add Seller Attorney
-
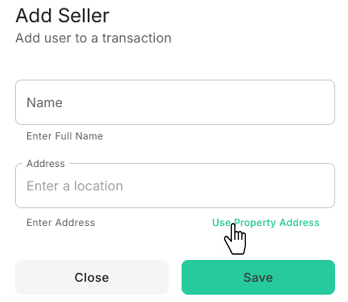
If you choose Seller as the user type, a dialog box will appear to enter Seller details. If the Seller's address matches the Property Address, click Use Property Address to auto-fill.
-
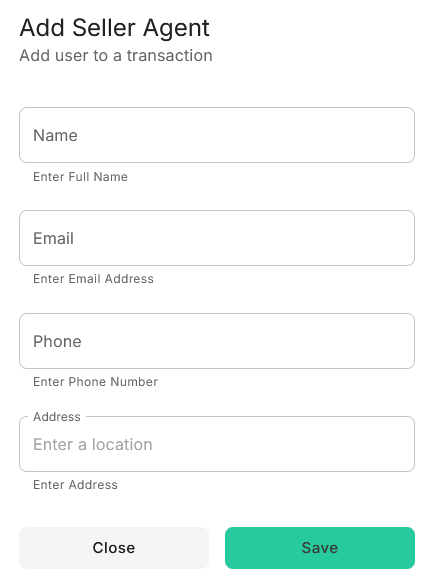
If you choose Seller Agent as the user type, a dialog box will appear to enter the Agent's details. The system will show matching contacts from your Address Book so you can either select an existing contact or enter new information. The new details will automatically save to your Address Book.
-
If you select Seller Attorney as the user type, a dialog box will open to enter the Attorney's details. The system will display matching contacts from your Address Book, allowing you to choose an existing contact or add new details. These details will save to your Address Book.

- Click Save to update the transaction and add the information to your Address Book.
Editing Seller's Details
- In the Seller’s Info section, locate the Edit User icon next to the Seller's name.
- Click Edit User, make any necessary changes in the dialog box, and then click Save.
- The transaction and Address Book will automatically update with your changes.